Saturday 22 October 2011

The last of the trees gone!!!!!!

WOOOOOO HOOOOOOO finally the last of the trees have been chopped down. We had a large gumtree which had been forced to grow on an unsafe angle due to all the other trees I've chopped down already. This tree had grown towards the the best light and that meant it was on quite an angle leaning over the house. All the branches were also growing out one side of the tree meaning all the weight was pulling the tree towards the house as well. So no its been chopped down. We also had another large gum tree chopped down, it was within 1 metre of anothert huge gum tree so was competing for space. And lastly we had all the dead wood/branches  chopped off another huge gum tree hanging over the choock pen.
See leaning towards house. Not safe!

On the way down, looks small but it's a big tree!

And it's down! will leave the trunk as it is.

So now the big clean up.  Mulch all the folliage first, then
chainsaw up all the bigger stuff, then split it and finally
stack it up behind shed.

I go the arborist just to get everything down onto the ground. It is my job to now clean up. Stage one of the clean up is to cut off all the folliage. stack it with the thick ends all facing out. (this makes it easy to grab and mulch.  No I can really test out this mulcher. This pile was only half of what needed to be mulched.  In the past I would have burnt all the folliage but this time I created wonderful mulch.  
branches stacked up ready to get mulched!
No i had no idea how long it would take to mulch all the branches but I had resigned myself to it taking a day.  How happy i was to have it all done in two and a half hours. The mulcher has exceeded all my expectations. it's quick, easy and creates a wonderful product, so much better than burning it. Means all that carbon and goodness is returned to the soil/garden. The video below shows the mulcher in action, chewing through and spitting out all that mulch.


And the pile of mulch created!!!


Monday 17 October 2011

Green Manure Crop between Orchard Rows.

I have now fenced off the whole orchard meaning the chooks can no longer walk between the rows of trees. I tilled up the soil between the rows so it was nice and friable. I sowed a mix of Pea, Oats and Vetch, lightly raked in the seed then watered very well. I put a thin layer of straw over this to help keep the seeds moist to help germinate. I will water each day as it's in the mid 20's and sunny for the next few days.
Once germination has occured I will use a mix of Seasol (a seaweed plant conditioner containing naturally occuring growth regulators, trace elements, carbohydrates and vitamins. Growth regulators have a profound affect on root growth and development. It also increases the plants ablility to deal with heat, drought and frost) to help stimulate root growth and Powerfeed (an organically based fish fertiliser, fortified with essential nutrients as well as humic acids. It's rich in NPK, amino acids and trace elements, it's also fortified with extra nitrogen, potassium, & phosphorus). The mix of Seasol and Powerfeed both stimulates root growth and development and feeds & fertilise the plants giving the newly planted crop the best chance early on.

My aim is to grow the green crop then allow the crop to go to seed, then let the chooks back in to enjoy!

Note new tap on post.

chooks now fenced off from going in between the
rows of trees. Green Manure Crop now planted,
watered in & covered in thin layer of Straw.
 

Water is precious!!!!

Well i have just seen the best idea at a property i did some work at today. It's brilliant.
Under the taps in this garden they had gud and pit, lined it with bricks and then concreted over this to make it hold water. This means when ever the tap is turned on water is caught and this pit fills up.
It means if you need to clean your hands quite often you don't even need to turn on the tap.
It also gives, birds and other wildlife access to cool water.
The inspiration! water held in pit below tap.
So yesterday afternoon I found a large terracotta pot and burried it under the tap near the orchard in my back garden. It had been chucked out by my neighbour on hard rubbish because it had a crack in it. I used sellastic to seal this crack and also to stick a large rock over the bottom drain hole in the put. This has meant the pot now holds water, and everytime I wash my hands after gardening the water is now recycled instead of just seeping away!!!


My take on the one I saw. The chooks love it.


Now that the days are getting warmer i wanted to get the irrigation set up once and for all in the back garden orchard. I decided to move the tap which i had placed inside the chook pen so I dug it up and moved it to the end of the middle row post in the orchard.

I have ordered a 25m Hoselink retractable hose reel and this will be mounted on the post above the tap. This will allow the hose to reach anywhere in the back garden.

I got given an end of a roll of good quallity 13mm soaker hose. I cut three lengths and lay them down at the base of the fruit trees. I then used 13mm polly pipe at the ends to join these togeather. So at the end using T joiners and corner joiners I ended up with the three rows of soaker hose joined at both ends, Think a continuous closed circuit. When this was done I cut the 13mm polly pipe near the tap and used a T joiner to join garden hose to connect the irrigation system to the tap.  By making it a full circuit it means even pressure is obtained the full length of each row.
Irrigation set up, Tap now on post on left.
Polly pipe between post at end of rows are now burried.

The soaker hose was left above the ground laying at the base of the rows of trees. The polly pipe joining the soaker hose at each end of the rows was burried under ground so it dosen't pose a tripping hazard.

So now I can turn on the tap and all trees are watered at once. The soaker hose is now covered with straw to reduce evapouration.    

Friday 30 September 2011

Preparing the Orchard for Summer

Well Chooks are digging, scratching destructive machines!!!!
I had given up mulching the orchard as the chooks simply scratched and destroyed my good work every time. Also when I fertilised with blood and bone or dynamic lifter the chooks would eat it and scratch holes risking exposing the trees roots. Something I can't risk during summer. SOOOOOOOOO I needed to fence off the 3 rows of trees so I can mulch the trees to help reduce water usage during summer.  Now instead of fencing off the whole orchard area i decided to fence off each row to contain the mulch and keep the chooks out once and for all. This means I can still walk up and down each row easily, fertilise, water, and mulch the trees easily with out the chooks undoing my good work.

The three rows now fenced off, mulched & fertilised.


Look the orchard is growing, look at those
nice green shoots.

See the photo's it's pretty self explanatory.  The chicken wire is 62cm high (this is keeping the chooks out well). Wooden posts hit into the ground support the wire, I used tie wire to fix the wire to the posts. Its a great result and has fixed all my chicken/orchard frustrations.

The reason for all this work is to ensure I get as much growth this growing season. Mulch, good fertiliser, and good irrigation will ensure the best growth possible. And this will mean I get fruit from the trees as soon as possible.

Saturday 27 August 2011

HANSA CHIPPER ORDERED WOOOO HOOOOO

I'm excited I have ordered my Hansa C7 Chipper, will arrive next week some time. Australian made commercial grade, heavy duty garden chipper. Now this will mulch/chip anything thing up to 65mm. But I've read people are mulching up to 100mm if it's green. So no more burning off for me at home. All the bark which falls and all my prunings, green waste, newspapers, compost the chooks don't/won't eat can me mulched and composted. We are also  having a large gum tree cut down soon which is on a decent lean over the house. I've been able to negotiate a much cheaper price as I can now mulch all the foliage myself. They will just drop the tree to the ground in bits then I will chainsaw up all the fire wood size, split and stack that, then mulch all the small stuff. Neighbours and I will use the mulch on our gardens in no time.
The great thing about this chipper is that it's self feeding and has a huge chute so branches with forks can also be put in. I'll post some photo's when I get it and when I'm using it.
If it was just for me I couldn't justify the cost. But a lot of my clients are also very happy I'm getting it as I will able to wheel it around peoples garden and mulch on site and put the mulch directly back onto the garden. No more burning off no more expensive tipping fees. And all that goodness goes back onto the garden improving soil structure and humus content. WIN, WIN, WIN. I can even claim it at tax time and depreciate it on my business. What more could you want.

Planting the Cherry Trees.

This week I was driving home from Emerald and passed a Plant Nursery with a sign out the front advertising bear rooted fruit trees. Impulsively I had to have a couple of Cherry Trees!  So in I went and purchased two, a "Stella" and "Van".   But because this was an impulsive purchase I didn't even think where or if I had the space to plant them. So when I got home I looked for a place. D'OH!!!!


"Van" Cherry Tree planted

"Stella" Cherry Tree planted

I realised I couldn't plant them where there was space because we are having a large gum tree removed in the next month leaning over our house, they would be destroyed by falling timber during the process. ARRRGH these needed planting now, they wouldn't last bear rooted for a month, they will be at bud burst in the next week or so.  I knew where ever I planted them they would have to be netted so the birds and possums didn't eat the bounty of yummy fruit they would  start producing in a few years time. Then it hit me. Yes why not plant them inside the chicken pen. Hell it was plenty big enough and at 2.5m high, with pruning they could be kept below this height. Best of all I wouldn't have to net the trees each year. The chook pen was already bird proof!!!! And they will be mulched and fertilised automatically. So that is where I planted them, some times working under pressure creates the best results. Genius!!!!!
Cherry trees planted in chook pen
Genius!

Weeding and Mulching front garden beds!


Garden beds full of weeds. (before)
The front garden has been a little neglected over the last month, also spring is on the way and weeds have grown. Our lovely neighbours 'G' & 'S' have planted some yukkas, native grasses and bird of parradise on our boundary on our side above the retaining wall. (im sure they are trying to make thier view more palatable) we must paint the outside of our house some time. Add it to the list!!!! Anyway not only have they planted plants on our property they have also mulched it and it looks great. 
SO time to pull my wieght and bring the rest of the front garden up to spec as well.
So I weeded the garden beds long the boundary, around the bird feeder and the wine barrel fish pond.
When I removed the pine trees along the drive we had them mulched, leaving a large pile of mulch at the bottom of our front garden. our neighbours have been using a bit much to my delight but now it was my turn to push, heave and get wheel barrow loads up the hill and onto the garden beds.
After weeds gone and mulched. Much betterer!!!
A client gave me a few tree ferns she had me
remove from her garden. A welcome addition to mine!
from 'G' & 'S' property looking back at our place.
The out come is awesome. I put the mulch on thick 3-4 inches thick. This will help keep the weeds at bay for a while at least. It looks great.

STOP THE BIRDS!!!!!!

Now it didn't take long for the local bird population to discover the food source in the chook pen.
I scatter seed and other food on the floor of the pen and in the morning leave the gate open of the pen so the chooks can come and go as they like all day. HOWEVER parrots, rosellas, gallahs & other birds have found thier way into the pen. Now most of them get out no problem, but it's becoming an annoying problem that some can't find thier way out with out considerable help from me. During the process the birds get stressed and bash themselves up to the point of bleeding at times. It has to stop.
Chooks comming 'home' though the new chook door


So today I built a little chook door so the big door can remain shut all day.
Chooks locked in for the night both gate and little
chook door closed.
I cut a hole out of the wire next to the gate, dug a hole and put in a short post and then cut an off cut of form ply 40cm x 35cm to be used as a door. This was attached to the existing gate post with two hinges and then a gate bolt was screwed to the chook gate and a hole drilled into the new post for the gate bolt to slide into the shut the little chook gate closed when needed. I put a paver under the chook gate so foxes/cats/dogs can't dig under it.  There is existing chicken wire under the ground as well as added protection.

Showing chook sized door hinged & bolted shut.
Chicken wire is nailed to door frame with U nails.
And the chooks have taken no time at all to work it out and use it. Hopefully the birds don't learn to use it as well!!!!!!!!

Sunday 7 August 2011

Digging out a flat space in rear garden.

The rear garden is being designed to be productive with as much fruit and vegetable plants as possible. However every garden needs an area to help engage and enjoy the garden. I need a flat entertaining area. So I dug out an area put the soil on the down side of the slope retained that with rocks making a nice rock wall. I decided that the curves of the bank on the top side of the flat area was a bit messy so today I dug out a nice curve. (with the help of all the chooks of course).  The area created now is a much more asthestically pleasing and creates more useable space. The idea is to have a sunken fire pit lined with blue stone blocks. This will be able to be used to burn off the never ending bark and branches that constantly fall from the remaining gum trees in the rear garden. It will be a focus point for friends and family to sit around on cool winter nights.  I will put a post with a BBQ plate attached so I can cook on this fire pit as well. That is the vision for the future,  today is the foundation of the area.

The chooks 'helping' dig out the the bank. The Black
area in the middle on the left of the photo is the site
for the fire pit.

More Pollination Please!!!

I want the orchard to be visually beautiful as well as productive. To help fruit set by attracting bees with the mass of flowers they produce and to make it look good I decided to plant Rosemary & English Lavender between the apple and pear trees in the Garden Orchard. I alternated Lavender - Rosemary - Lavender, Etc, Etc.  And again they needed protecting from the chooks. So I put plastic tree guards around them. The rosemary and lavender can both be used for more than just their beauty when in flower.  The strong oils and smell of Lavender is said to possibly deter bad insects from coming close to them. We will see, but I know they will attract insect to aid pollination in spring. WOOOO HOOOOO!!!
The fruit trees and lavender/rosemary plants all planted
and set to grow this spring.

Saturday 6 August 2011

The Cirus Trees Versus the Chooks!!!


Make sure mulch is away from trunk of
citrus trees. Collar Rot is a big risk if this
occurs
Using plain wire U pegs to hold down wire


Citrus trees have lots of very shallow roots and I've noticed the chooks scratching up the ground uner the citrus trees and have started to expose some of these feeding roots.  NOT GOOD especially in summer. I had been mulching around the trees but gave up as the chooks just scratched it away.  BUT I came up with an idea to stop this today. I cut some lengths of chicken wire cut a line to the middle of the square of chicken wire then put the wire flat on the ground with the trunck of the tree around the the cut line. I was able to mulch under this wire then use short lengths of plain fencing wire bent in the shape of U's these pegs were then pushed into the ground to hold the wire and mulch in place. So now the chooks can walk over it poo over it peck through it but can't dig and scratch it up. PERFECT. It will also have the added benefit of providing small areas in the garden where insects can be safe away from the chooks and breed up numbers. This should mean my back garden doesn't become an insect desert because the chooks eat and destroy everything in sight!!!


Now it doesn't matter the chooks are
under the citrus trees. Mulch & roots
are protected with wire.

Rosemary & Lavender to Attract Bees & other Pollinating Insects...

 The fence in front of the chook pen ready for planting
I've been reading about pollination lately and decided to make sure I get a good fruit set with my fruit trees I would plant some plants that attract insects. No seeing I want this to be a productive garden as much as possible I thought I should look for not just flowers that attract insects but a plant which flowers but can also be used and of course it had to look and smell good too!!!

Lavender & Rosemary was my answer.  I found a great deal at my local nursery in Mobulk a tray of 42 tubes for $35!!! A bargain, and seeing i will be stripping all blossom and fruit of the trees in the first year to let the trees get established, the small tubes will have a few years to grow in size as well.

The little tubes planted just the mulch to go
then it's done.
Knowing these small tubes would have no chance against the rage of 7 sets chooks feet I needed me some serious protection from them.

I decided to plant a hedge of alternating Lavender & Rosemary along the front of the chook pen. the chooks could keep it trimmed as it grows throught the chook pen and I can hedge/cut back else where when needed.

I used star pickets and some wooden stakes to support a fence of chicken wire.  The tubes where planted 50cm appart the Rosemary and lavender aternating. they were then watered in using Seasol, a sea weed fertilizer.

The I mulched it using straw from the chook pen. And now i wait and watch it grow!!!


Finished, all mulched and planted out!

Looking from the neighbours side of the boundary fence

The chooks like the Raspberries! Help!!!!

Yep walk away chicken you are not
welcome to our raspberries!
I noticed the raspberries I planted a week or so ago have started bub burst. I noticed this when I noticed the chooks pecking at them. MMMM they needed protecting or the chooks would decimate them let alone when they start fruiting!!!

So I used some star pickets to make a trellis system around the Raspberries. I then used strong sighting cord/string to make a fence around the canes.

Now the chooks can't scratch around the canes i mulched them with straw in preparation for summer.

Bird netting will be drapped over the trellis to protect fruit in summer.  I want the raspberries not the chooks, birds, possums and other critters that love em just as much as me!

The fence erected just the mulch to
be added now.

Tuesday 2 August 2011

Planting natives on the earth bank below the widened car park

Now the earth bank below the widened car park area has had 3 weeks to settle, I decided it was time to plant some natives to help stabilise it and provide a little privacy once they grow up.
red bottle brushes were planted to help attract native birds and I just love them. Easy to hedge/ prune once they get to the height/size I want. Native just love to be pruned, they LOVE it. With the idea of eventually putting up a double bay garage/work shop/shed it will provide shelter/shade for it as well.

Trees in guards to help them settle in and grow

Planted in amongst the rocks. It will look
great once they have grown up and bushed
out a bit.

Monday 1 August 2011

Insect Home to Attract the Good Guys!!!

Bamboo in top 'frame', Straw behind
slats in enclosed bottom section.
Well I finally got around to building a beneficial Insect Home to hopefully attract lady birds, lace wings, spiders and solitary wasps. These are all good insects to have in the orchard and garden in general to deal with various kinds of aphids, moths and other insects that cause grief in the orchard and veggie gardens.
I first heard and saw insect homes in England in community veggie garden. They looked good and I liked the idea of them, so thought I would try them here in OZ and see if they work.


Tin roof added. Even insects need
protection from the rain!!!
The home is in two parts an open frame up top jam packed with short lengths of bamboo canes. These are hollow creating lots of holes for insects & spiders to make homes in. The gaps around the bamboo also make ideal homes. then below is basically a box fully enclosed except at the front where strips of wood create openings. Inside this box is filled with loose straw, apparently this makes ideal homes for lady bugs and lace wings.

I have now screwed the insect home to a trellis post in the middle of my garden orchard. Hopefully it attracts the insects I'm hoping it to!!!  To aid this I will plant some lavender at the end of each row, bees and insects LOVE lavender! It will help pollinate fruit and veggies too!
Installed in the orchard.Screwed to trellis post
in between apple trees.

Saturday 30 July 2011

The 5 Gold Fish are In!

Can you see the orange fish! They love it in there!
About 6 months ago a client of mine asked me to chainsaw up some old timber furniture and a wine barrel in to fire wood for them. The wine barrel had a hole chopped in one end and had been used as a dog kennel. Other than the hole the barrel was in excellent condition. far to good to be used as fire wood. I chopped the top third off using a chainsaw. The end with the hole in it I took up the back garden, sat it on the ground and filled it up with good soil. This will be planted with strawberries.
The finished wine barrel fish pond!

The good bit of the barrel I sat up on bricks in a garden bed which can be seen from in our living room. I filled it up and over the next week it swelled up and no leaks at all perfect for a water feature come fish pond.  I let it sit for another week then bought some native water plants a small native water lilly and a native rush type plant. They have been planted in terracotta pots filled with dirt, then I used gravel to cover the dirt so the dirt doesn't much up the water. I then left the wine barrel with plants for another month so everything could settle and algea, water bugs, insects, etc create a proper aquatic environment.  Now algea, bugs, plants, etc are thriving which means fish will thrive and have something to eat!  SO today I went and bought me some gold fish. Five in all, 3 yellow/gold 2 normal orange gold fish. They are in and loving it. Time will tell if I need to put mesh over the top of the barrel. Kookaburra's may be a problem!


Fig Trees Planted

2 Fig Trees planted with swales &
tree guards installed

Well I finally decided on where the two Fig Trees will be planted and with a beautiful sunny warm winters day another day pottering was in order.  Because Fig Trees get so SOOO BIG if left to them selves I will be training and pruning my two figs Espalier Style.  Two holes were dug, half filled with water, some Dynamic Lifter pellets and blood and bone fertilizer was added, then the trees planted and the hole back filled with soil mixed with Blood & Bone and more Dynamic Lifter pellets.  Chook protection was added to protect the trees while growing. A few bits of aviary mesh were made into a few tree guards with a few wooden stakes used to hold in place.  I then made a couple of earth swales to help capture water following the contour of the land. I used rocks laying around to retain the swales and protect them from the chooks scratching!!!  The end result is great. Grow you little fig trees GROW!
I want to start training them into Espalier. I've never trained fruit trees to Espalier.  I'm excited!!!!  
Close up of rocked earth swale & tree guards in

Friday 29 July 2011

New garden bed built! Now what to plant.

Chooks always love it when I did in the garden!
Lots of goodies to eat.
I had some daylight left after planting the Avocado trees so I built a new garden bed ( I think I will plant strawberries in it). I used rocks as a border and to retain the soil. As you can see in the photo's as usual the chooks were keen to help! eating anything that was edible as I dug.
This has defined the pathway up to the chook shed a lot better. I will mulch this path with pine mulch
(i have a huge pile of mulch from the Pine trees I removed up the side of our driveway). This will make it a lot less slippery in the wet.   
Well it's Saturday morning and while cleaning out the chook shed this morning and replacing all the old straw with nice new stuff I noticed lots of gum leaves and small twigs covering the lawns. They had built up over the months and needed raking up. Now in the past I would have burnt them, but i decided to pile them up and run my mulching mower over them and use that as mulch on the path instead of wheel barrowing loads of mulch up the hill all the way to the back of our property.  So not only have i got rid of the leaf build up problem they have made a perfect bush mulch for the path up to the chook shed which was getting slippery when wet!  Awesome, this will be continued in the future. No burning leaves any more!!!
The newly finished garden bed. I'm thinking strawberries
will be good here!

The piles of leaves and twigs turned into
great mulch path. Perfect!

Avocado Trees in and a New Garden Bed too!

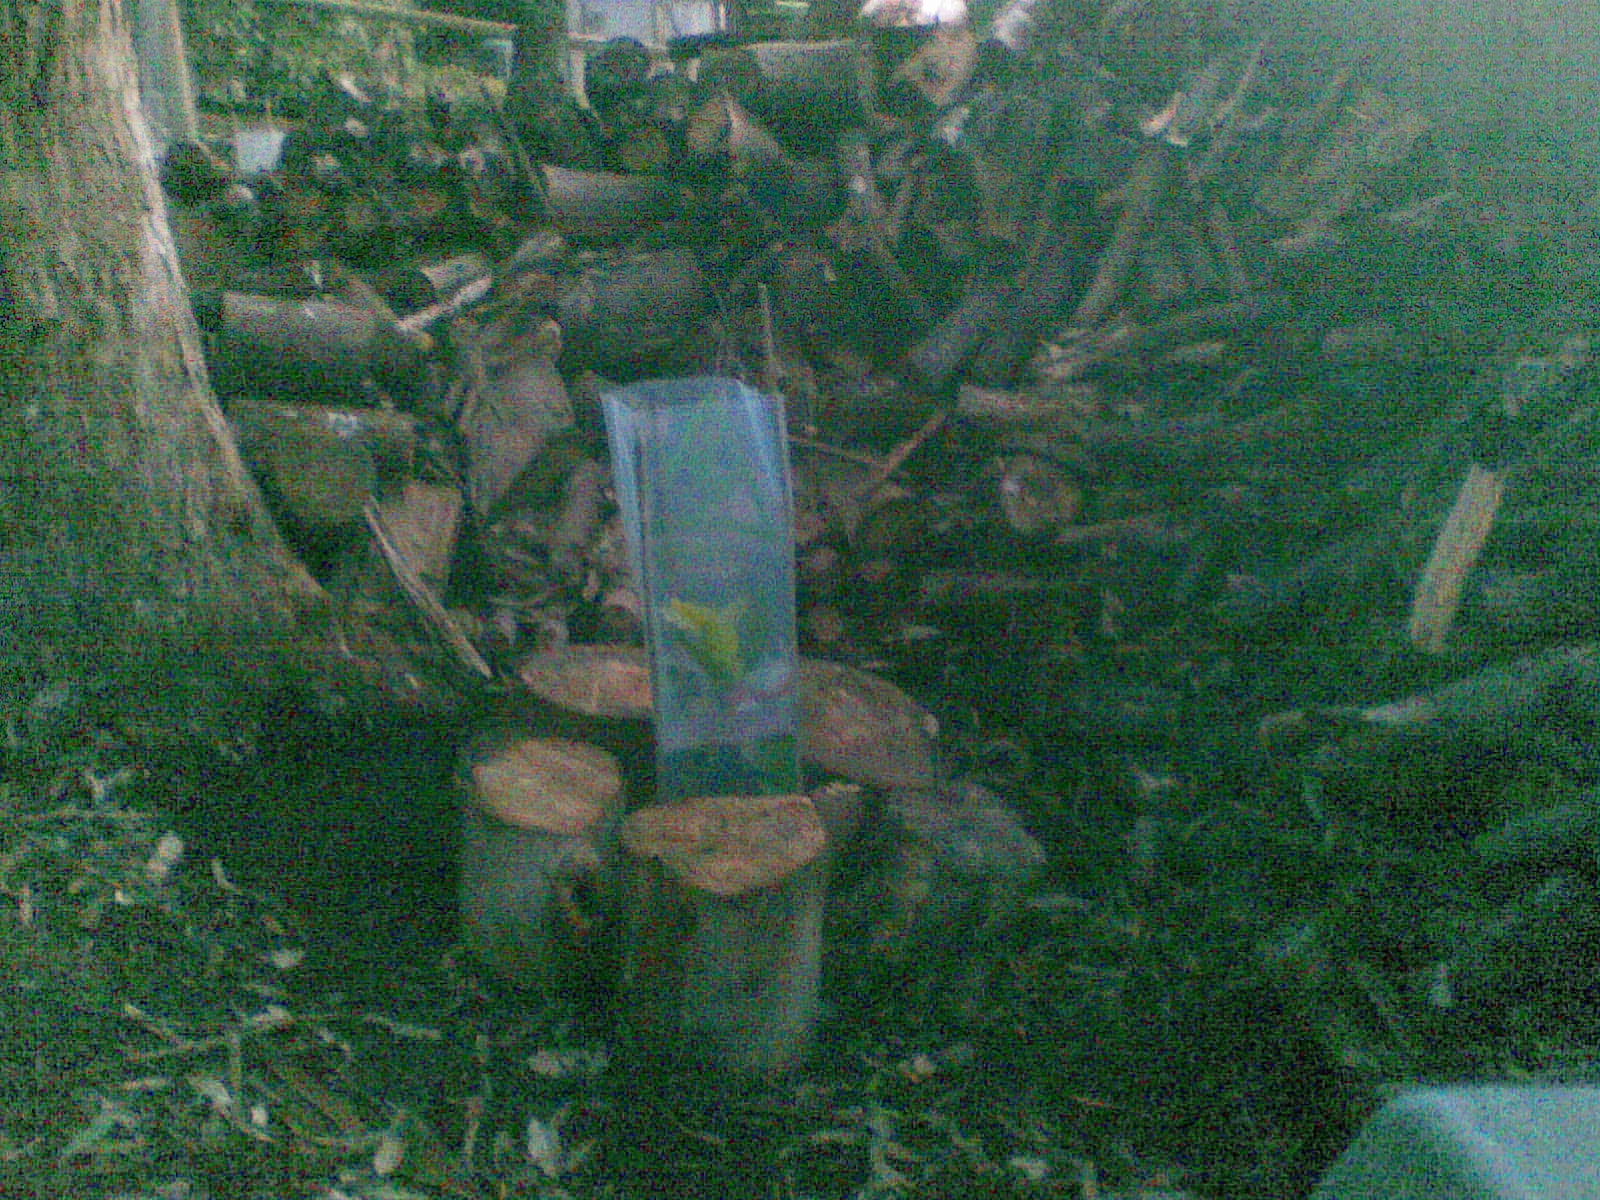
Logs around tree to stop chooks digging around tree
Many weeks ago I ordered 2 Avocado Trees & 2 Fig Trees. Now I've never bought plants through the mail but they came this week!  and all plants were well when they arrived, Woo Hoo!
I got 1 Bacon Avocado 'B' type & 1 Hass Avocado 'A' type. Avocado's are self fertile but if you plant 'A' & 'B' types you will have the best possible pollination possible. Since ordering these trees I have discovered Wurtz 'A' type which is a dwarf avocardo tree. These can be grown in pots, half wine barrels are perfect size. If I had my time again I would have bought this so prunning wasn't needed.

Today I finished work earlier than I thought I would, so I had some time to relax and loose myself in the rear garden. Oh the bliss.
Now it was a revelation that you could grow Avocado trees in Kallista, i thought they were tropical fruit and never dreamt I could grow them here. Now they are large trees growing 4-8m high and wide. but as with all fruit trees you can prune to size with in reason. The first few years they need to be looked after a bit. They are susceptible to frosts, gladly we have never had a frost here, they also need protection from hot summer winds. I didn't even think about how big they grew when i ordered two. BUT after some walking around the garden over the last few days I 'found' the perfect place to put them!  The only problem I needed to move some of the wood pile behind the shed to make room for them. This position is sheltered from winds and snow (if/when we get it).
Double height tree guard with long bamboo stakes
The trees in pots were submerged in a bucket of water to saturate soil.  Holes where dug for each tree, blood and bone added to the soil then the trees were planted and tree guards put around trees. I decided to put logs around the tree guards so the chooks don't scratch and dig around tree. Two tree guards where taped together to get the height needed to protect the whole tree.
The placement of the avocado trees will provide shade to the chook house and pens when they grow bigger. The wood pile will be gone by the time the trees have grown.
I am enjoying the anticipation of all these fruit trees coming into production over the next two to three years. I really think I'm proving with time, planning and some hard work it is possible a third of an acre can be a productive, sustainable "farm". I love my back garden.
Oh I also planted my 10 Raspberry canes. I had them sitting in a bucket of straw bare rooted, but noticed the buds starting to burst. So I planted them out into a garden bed which last summer had veggies in it. I will build a trellis for them soon with a poly pipe frame to support bird netting. Yes I want the raspberries not the birds!!!  I will post photo's of the canes and trellis system soon.  

Sunday 24 July 2011

Rosella, Sugar Glider or Micro Bat Log Home

Log panel attached to plywood box
Log panel finished with entrance hole
and perch in place 
Well I've been itching to make my first animal Log Home/Box to put up in the garden. My wish is to attract a sugar glider or feather tail glider into a Log Home I've built.  I used the chainsaw to cut a front panel for the box off a log from a Black Wood tree. A very hard wood with good textured bark. So with this front panel cut into shape approx 250mm wide 490mm high I used a 65mm hole drill to cut the entrance hole into the wood panel. The first problem encountered the drill wasn't deep enough to go right through the wood panel. So out with a small chisel and hammer to cut a hole 65mm right through. I had some external 21mm form plywood left over from building my chook house which I used to make the 2 sides, base and lid for the box.  I painted each cut with a wood sealer to help seal the plywood so it's more weather proof. a hole was drilled a little smaller than the diameter of the perch/branch. I filed the end of branch/perch to a taper and then hammered the perch into the hole. It's a tight fit and will support the largest of birds or possums. I drilled and screwed the plywood base, sides and back together. I then screwed the log panel to the front box i applied liquid nails to the panel and front of the box for added strength. Care was taken no sharp screw points are exposed.  A lid was then attached using a couple of stainless steel hinges. It's important to have access to the nest in case feral animals take up residence and you need to remove it. 50mm of saw dust and wood shavings have been put in the base of the nest this imitates how a natural log hollow would be. Now my first box is complete I need to let it rest until the paint and glue is dry and the fumes are no longer smell. 3 drain holes have been drilled in the base, a hole drilled up the top of each side which will be used to hang the box in the tree. I will use plastic coated clothes line steel cord threaded through the box with garden hose over the cord where it comes in contact with the tree branch supporting the box.
The finished home with hinged lid
I will post a photo when the box is installed in the tree. I'm very happy with the finished nest box. Just hope the birds or bats or gliders are happy with it and something makes it their home!